
Quick summary
What This Covers. What print ready label artwork actually means, everything that has to be right in the file before it goes to a printer, and what happens to it once it arrives.
Who This Is For. Anyone sending label artwork to a printer for the first few times.
Core Finding. Eight of the fifteen are technical settings with one correct answer. The other seven are facts about your product, and nothing in the file can supply them.
Bottom Line. The eight your designer handles. The seven are what a printer has to come back and ask you for.
What happens to the file when it arrives
Your artwork lands alongside the job ticket, which carries the size, the material, the quantity and the finish. Both go to prepress.
Someone opens the file and runs it through checking software, which looks at the technical parts: resolution, colour, fonts, the cut path. Then a person compares what is in the file against what is on the ticket, because software can tell whether a file works, and only a person can tell whether it matches the job you described.
Small technical corrections get made without anyone calling you. Anything that needs a decision that is yours to make comes back as a question, and the job waits until you answer it. That is the whole of it, and everything after the proof is a separate stage with its own rules.
The three edges of a label
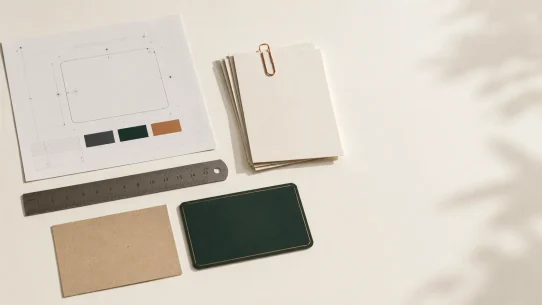
Three of the fifteen are about boundaries, and they are the ones most often misunderstood, because a label has three edges rather than one.
The fifteen
Split into two, because they are two different kinds of thing.
The file
Eight settings. Your designer handles these.
The job
Seven facts. Only you have these.
The first eight are on every printer’s guidelines page, so most people get them right. The last seven sit in nobody’s checklist.
Two things worth knowing
Print ready is a threshold, not a compliment. It means the file is technically sound enough to proceed. It does not mean the label will be right, because nothing in a file says which product it belongs to. A die line drawn perfectly, on the correct layer, in the correct spot colour, can still be the wrong shape for your bottle.
Your file has probably been touched. Small corrections happen on most jobs and nobody calls about them. That is normal and it is included in the price. If you want to know what changed, ask, and keep the answer with your files.
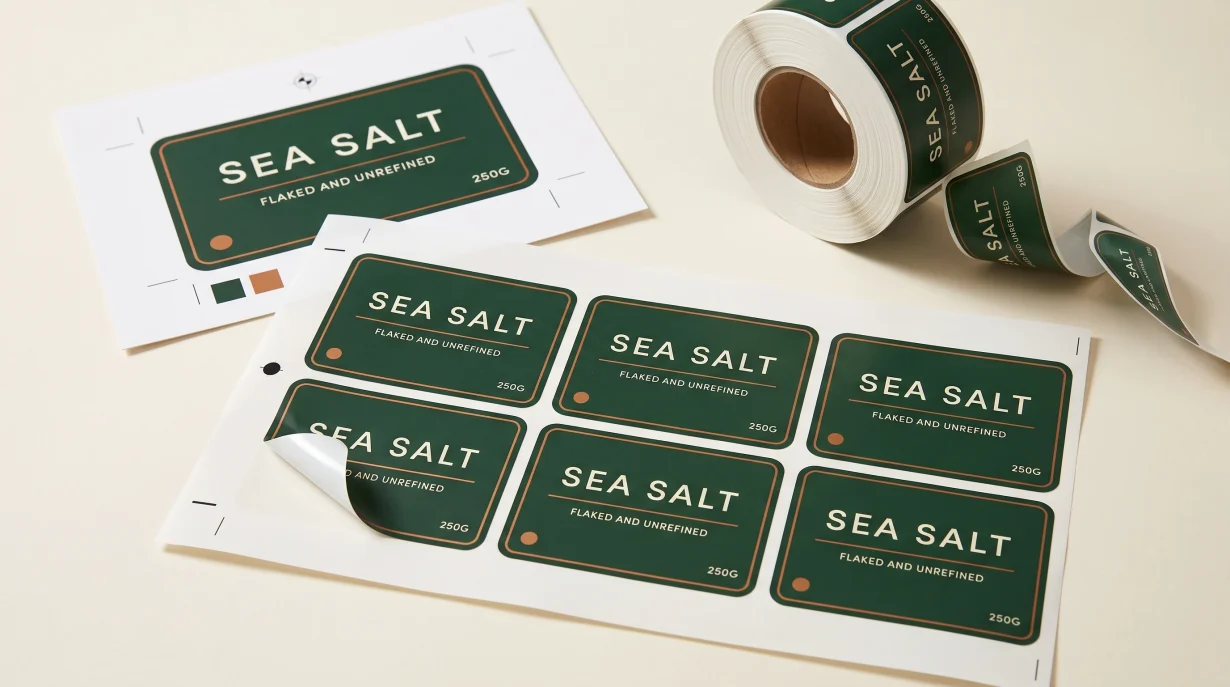
Files that look finished are a particular version of this. Artwork out of a design tool can be visually complete and structurally unusable, which is where AI generated labels tend to come apart.
Where this leaves you
Before you send artwork
- Vector file, CMYK, fonts outlined, images embedded
- 300 DPI at final size, bleed and safe area on all four sides
- Die line on its own layer, or tell them you need one made
- Container details in the same email as the file, not separately
- Say what state the file is in, concept or finished
- Confirm the barcode is the final one
- Name the one element you cannot get wrong
Eight of the fifteen are settings. Seven are things you already know about your own product and have not been asked for yet.
Sending both in one go is the difference between a quote that comes back and a quote that comes back with questions. Most of what belongs in that first email is covered in the brief, and the file is the other half of it.
Please note
Production economics, crossover points and material capabilities vary by supplier, equipment, order quantity and job specifications. Always consult with your packaging supplier before making final procurement decisions.
FAQ
What is print ready label artwork?
A file that meets a printer’s technical requirements: vector where possible, CMYK, fonts outlined or supplied, images embedded, bleed and safe area set, and a defined cut path. It is a threshold rather than an endorsement. A print ready file can still be the wrong file for your product.
What is a die line on a label?
The die line is the closed vector path that defines where your label is cut. It sits on its own layer as a named spot colour with no fill, set to overprint, and it does not print. If you do not have one, most printers will create it, but say so rather than leaving them to guess.
How much bleed does a label need?
Usually 1/16 inch on every side. Anything meant to reach the edge of the label extends past the cut line by that much, so a slight variation in where the die lands does not leave a white border. The same distance applies inward for text and logos.
Will a printer tell me if they change my file?
Not always. Small technical corrections with one obvious right answer are usually made without a call. Anything requiring a decision that is yours, such as a design change or missing required text, comes back to you. If you want a record of what was altered, ask for it.
What do printers most often have to ask for?
Not the technical settings. Those are published on every printer’s guidelines page and most designers get them right. What goes missing is the product context: the container, the state of the file, whether the barcode is final, and which element matters most to you.